Measure a Workflow in One Week With Nothing But a Clipboard
If someone asks why a process takes so long, the honest answer is usually "we're not sure." Gut feel puts it at 10 minutes. Someone else says it used to take 20. None of those numbers come from observation.
A diagram session and clipboard study fixes that. Pull the team together, diagram out the process. Then watch 10 runs (whatever is appropriate) of one workflow, log what happens, and walk away with cycle time, wait time, and error rate. Those numbers show where the delay is, and give you a before-and-after check if you later automate or change the process.
Step 1: Pick One Workflow and Define the Unit
Start with one process, not three. Measuring everything at once produces noise.
Pick a workflow that meets these criteria:
* It repeats at least weekly
* One person or one handoff is responsible for completing it
* You can watch it happen without disrupting it
Good candidates: invoice coding, lead intake from a web form, content approval routing.
Once you have the workflow, define the unit of work. This is the single thing you will observe each time.
Examples
Invoice coding: One invoice received and posted
Lead intake: One inbound lead from form submission to CRM entry
Content approval: One piece moving from draft-ready to approved
Write the unit on the top of your tally sheet. Every observation must be one complete run of that unit, start to finish.
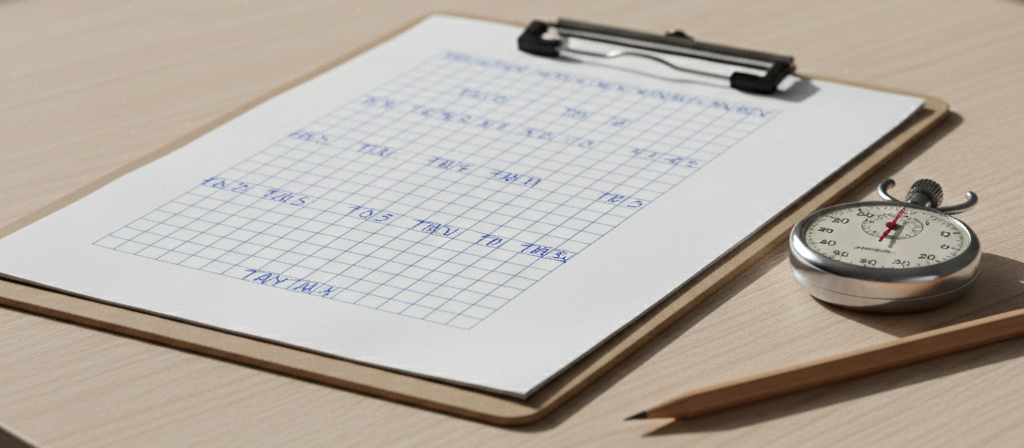
Step 2: Print the Tally Sheet
Clipboard Study Sheet Download
Step 3: Observe 15 Runs
Spread observations across different times and days when the work actually occurs, not just one morning if that is atypical for the process.
Practical notes:
* Sit near the person doing the work and watch, or ask them to log it themselves. Self-logging works if they understand the definitions and you debrief at the end of each day.
* If a run is interrupted by an unrelated event (phone call, system outage), note it and still record what you observed.
* If you hit an outlier, a run that took 45 minutes when the others took 5, note what made it different. Do not drop it from the data unless it was a one-time external event that cannot repeat.
Step 4: Calculate Your Baseline Numbers
Once you have 15 rows, run these calculations.
Average touch time: Add all touch times and divide by 15.
Average wait time: Add all wait times and divide by 15.
Rework rate: Count the Y entries in the Rework column. Divide by 15. Multiply by 100. Example: 4 rework instances out of 15 runs = 26.7%.
Error rate: Count any run where an Error Type was recorded. Divide by 15. Multiply by 100. A run with two errors counts as one run with errors for the rate. Log error types separately so you can count each type.
Variability check: Record the minimum, median, and maximum touch time. If the maximum is more than three times the minimum, you may have captured two different sub-types of work. Note this before setting improvement targets.
How much to trust your averages
This 80% interval applies to average touch time and average wait time only. Rework and error counts are too small at 15 runs to produce stable ranges — you need 30 or more runs before setting targets for those. At 15 runs you can see which errors happen most and which runs go to rework, but you cannot reliably set targets or compare before-and-after for those metrics yet.
For touch time and wait time, the margin calculation tells you whether your average is stable enough to act on. A margin under 20% of the mean means the average is reliable enough to use now. A margin over 20% means the process varies too much to commit to that number — collect 10 more runs first.